In the last post, I gave you a preview of the addition that will be added on Flip House #2. The little brick cottage at 1500 square feet is just too small for this family friendly street. Leaving this house a 2 bedroom, 1 bath house just wouldn’t sell with the amount of work and repairs that have been required. We need to maximize the space but still fit into the neighborhood. The biggest thing I wanted to accomplish with this house was to maintain the front of the house. I didn’t want to change the look of the front. The easiest thing to do would have been to go up instead of a larger back addition but that would have make the house look completely different from the front. So the upstairs footprint wasn’t changed but instead was included seamlessly into the addition. The lot the house sits on is long rather than wide so we will be going back with the addition. We are adding a little over 1400 square feet with a 2 story addition and the house will become a 4 bedroom, 3 bathroom. That will make it much better to market! The original upstairs will become 2 bonus spaces! Lots of storage will be added and the house will flow really well with the additional space.
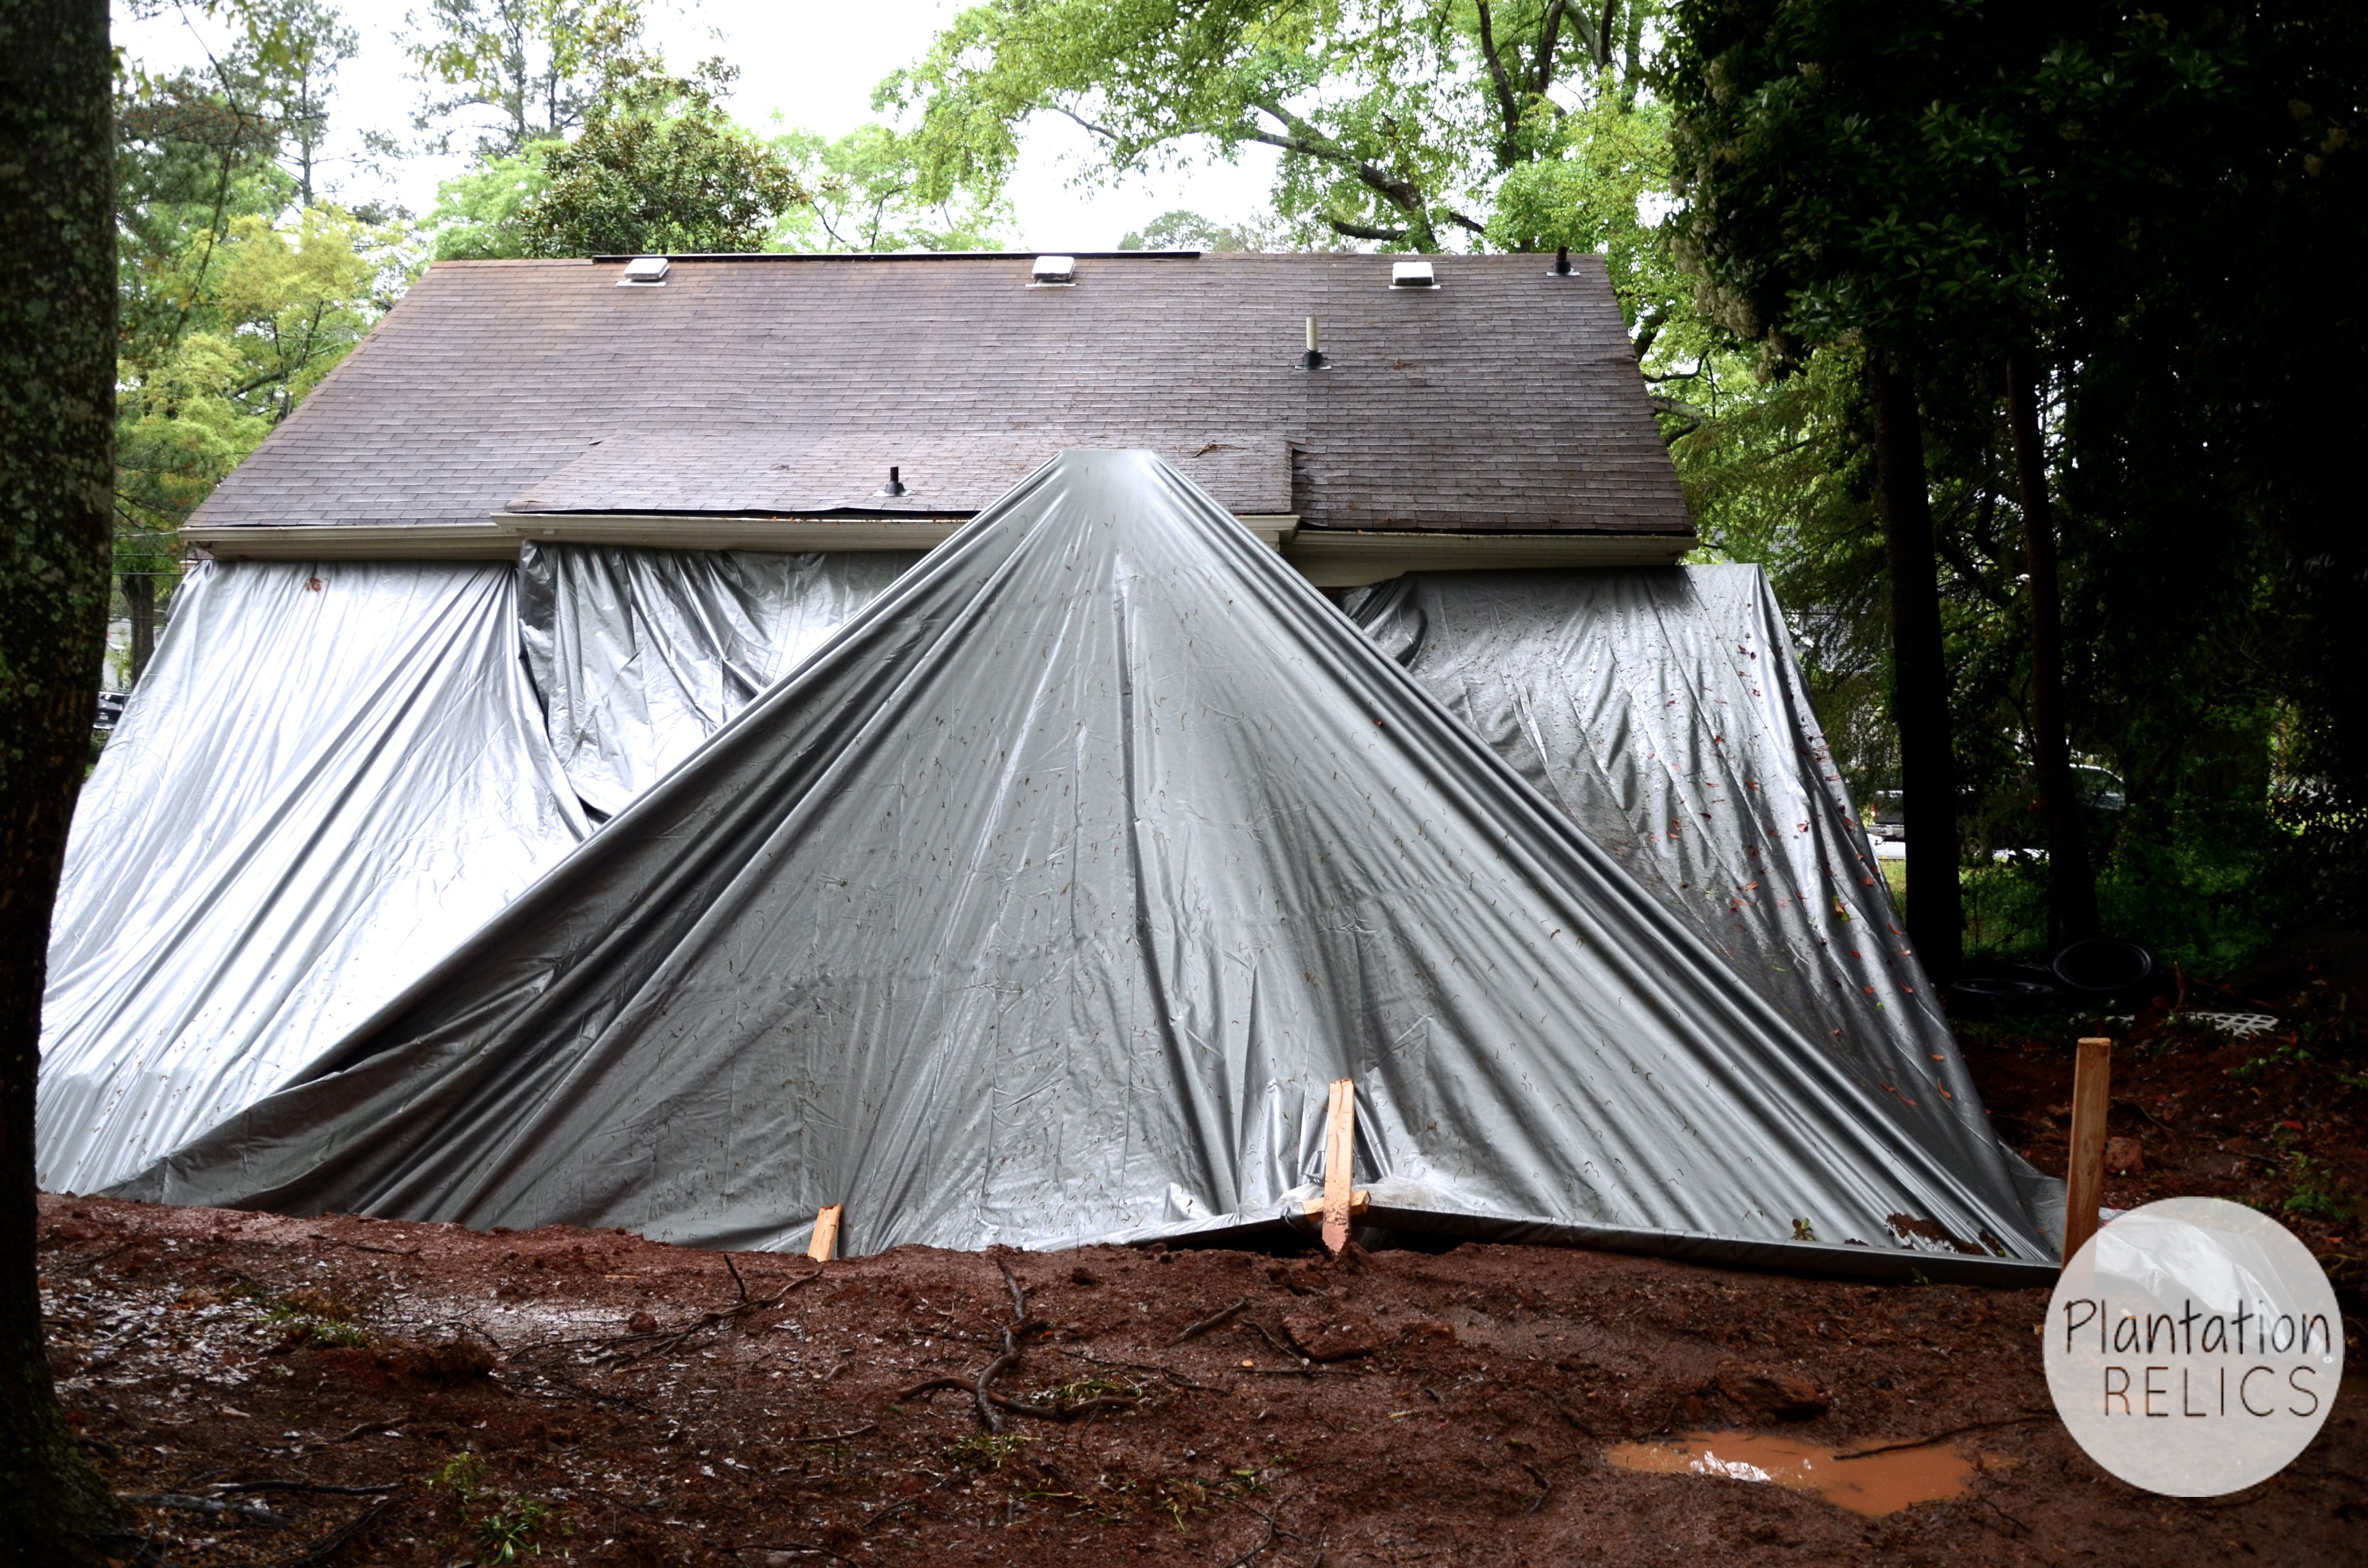
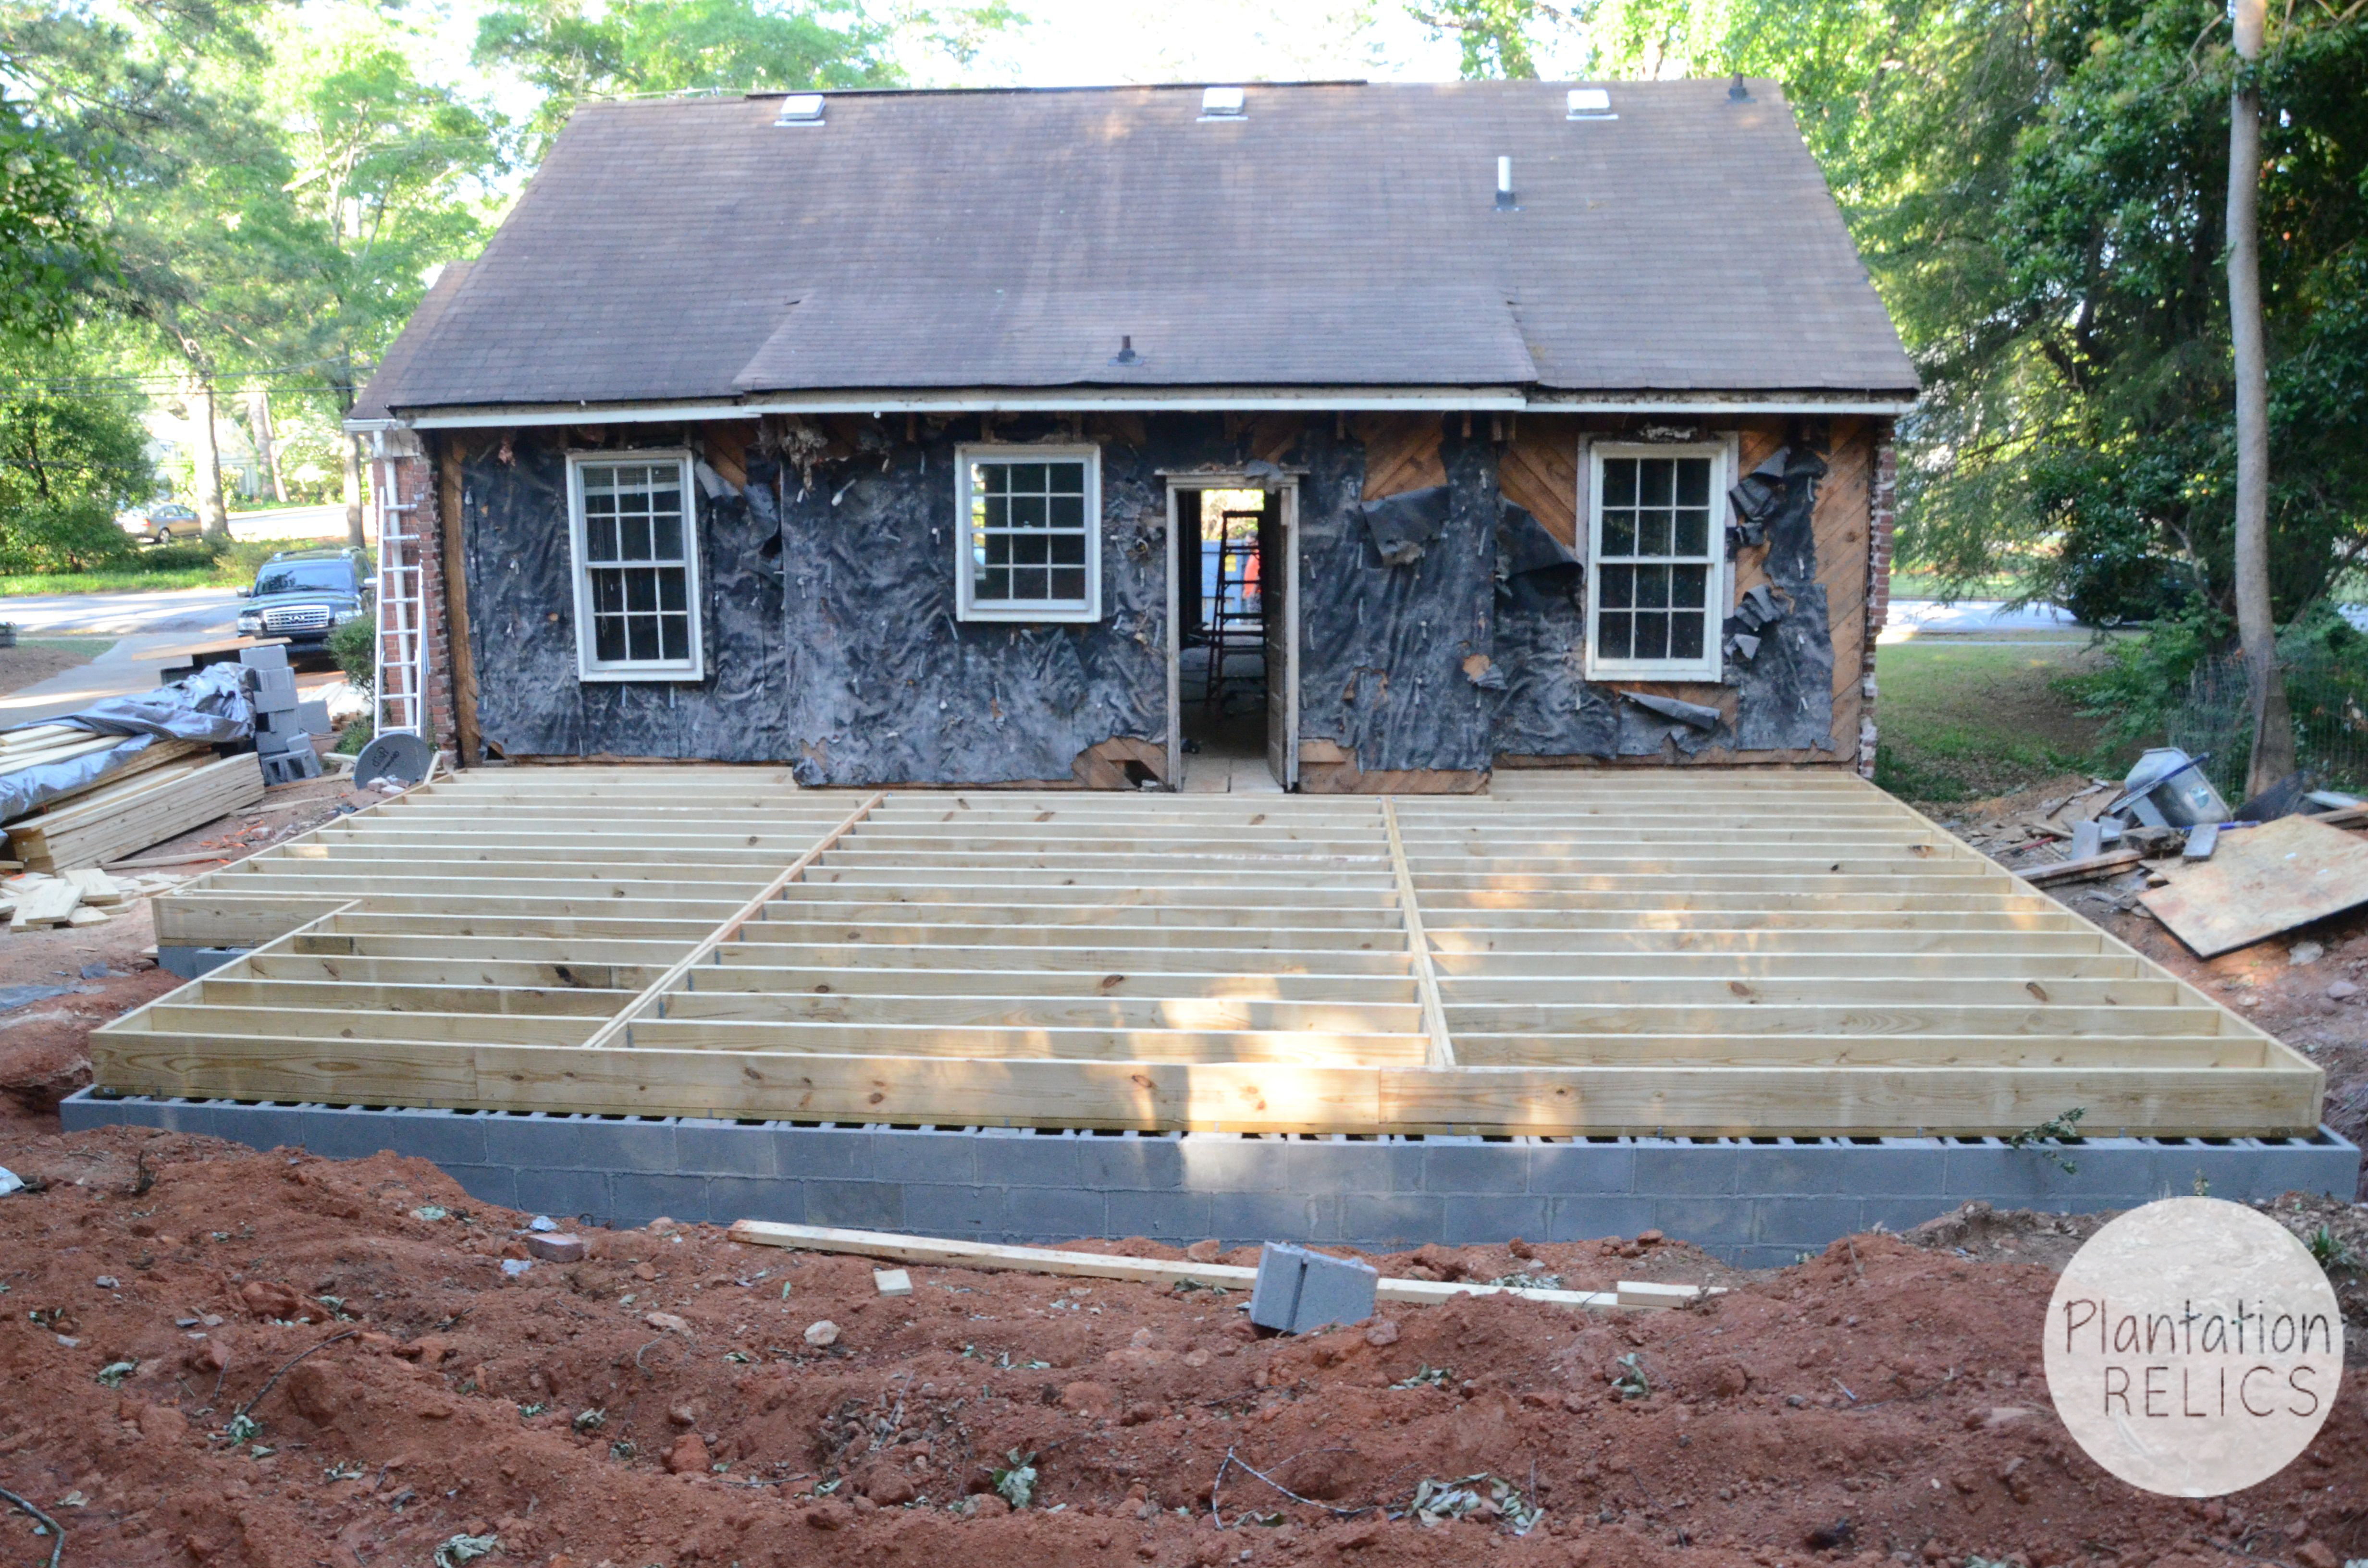
Then you start your addition and get ready to pour all the footings and bam three days of rain! That’s how it goes right!!
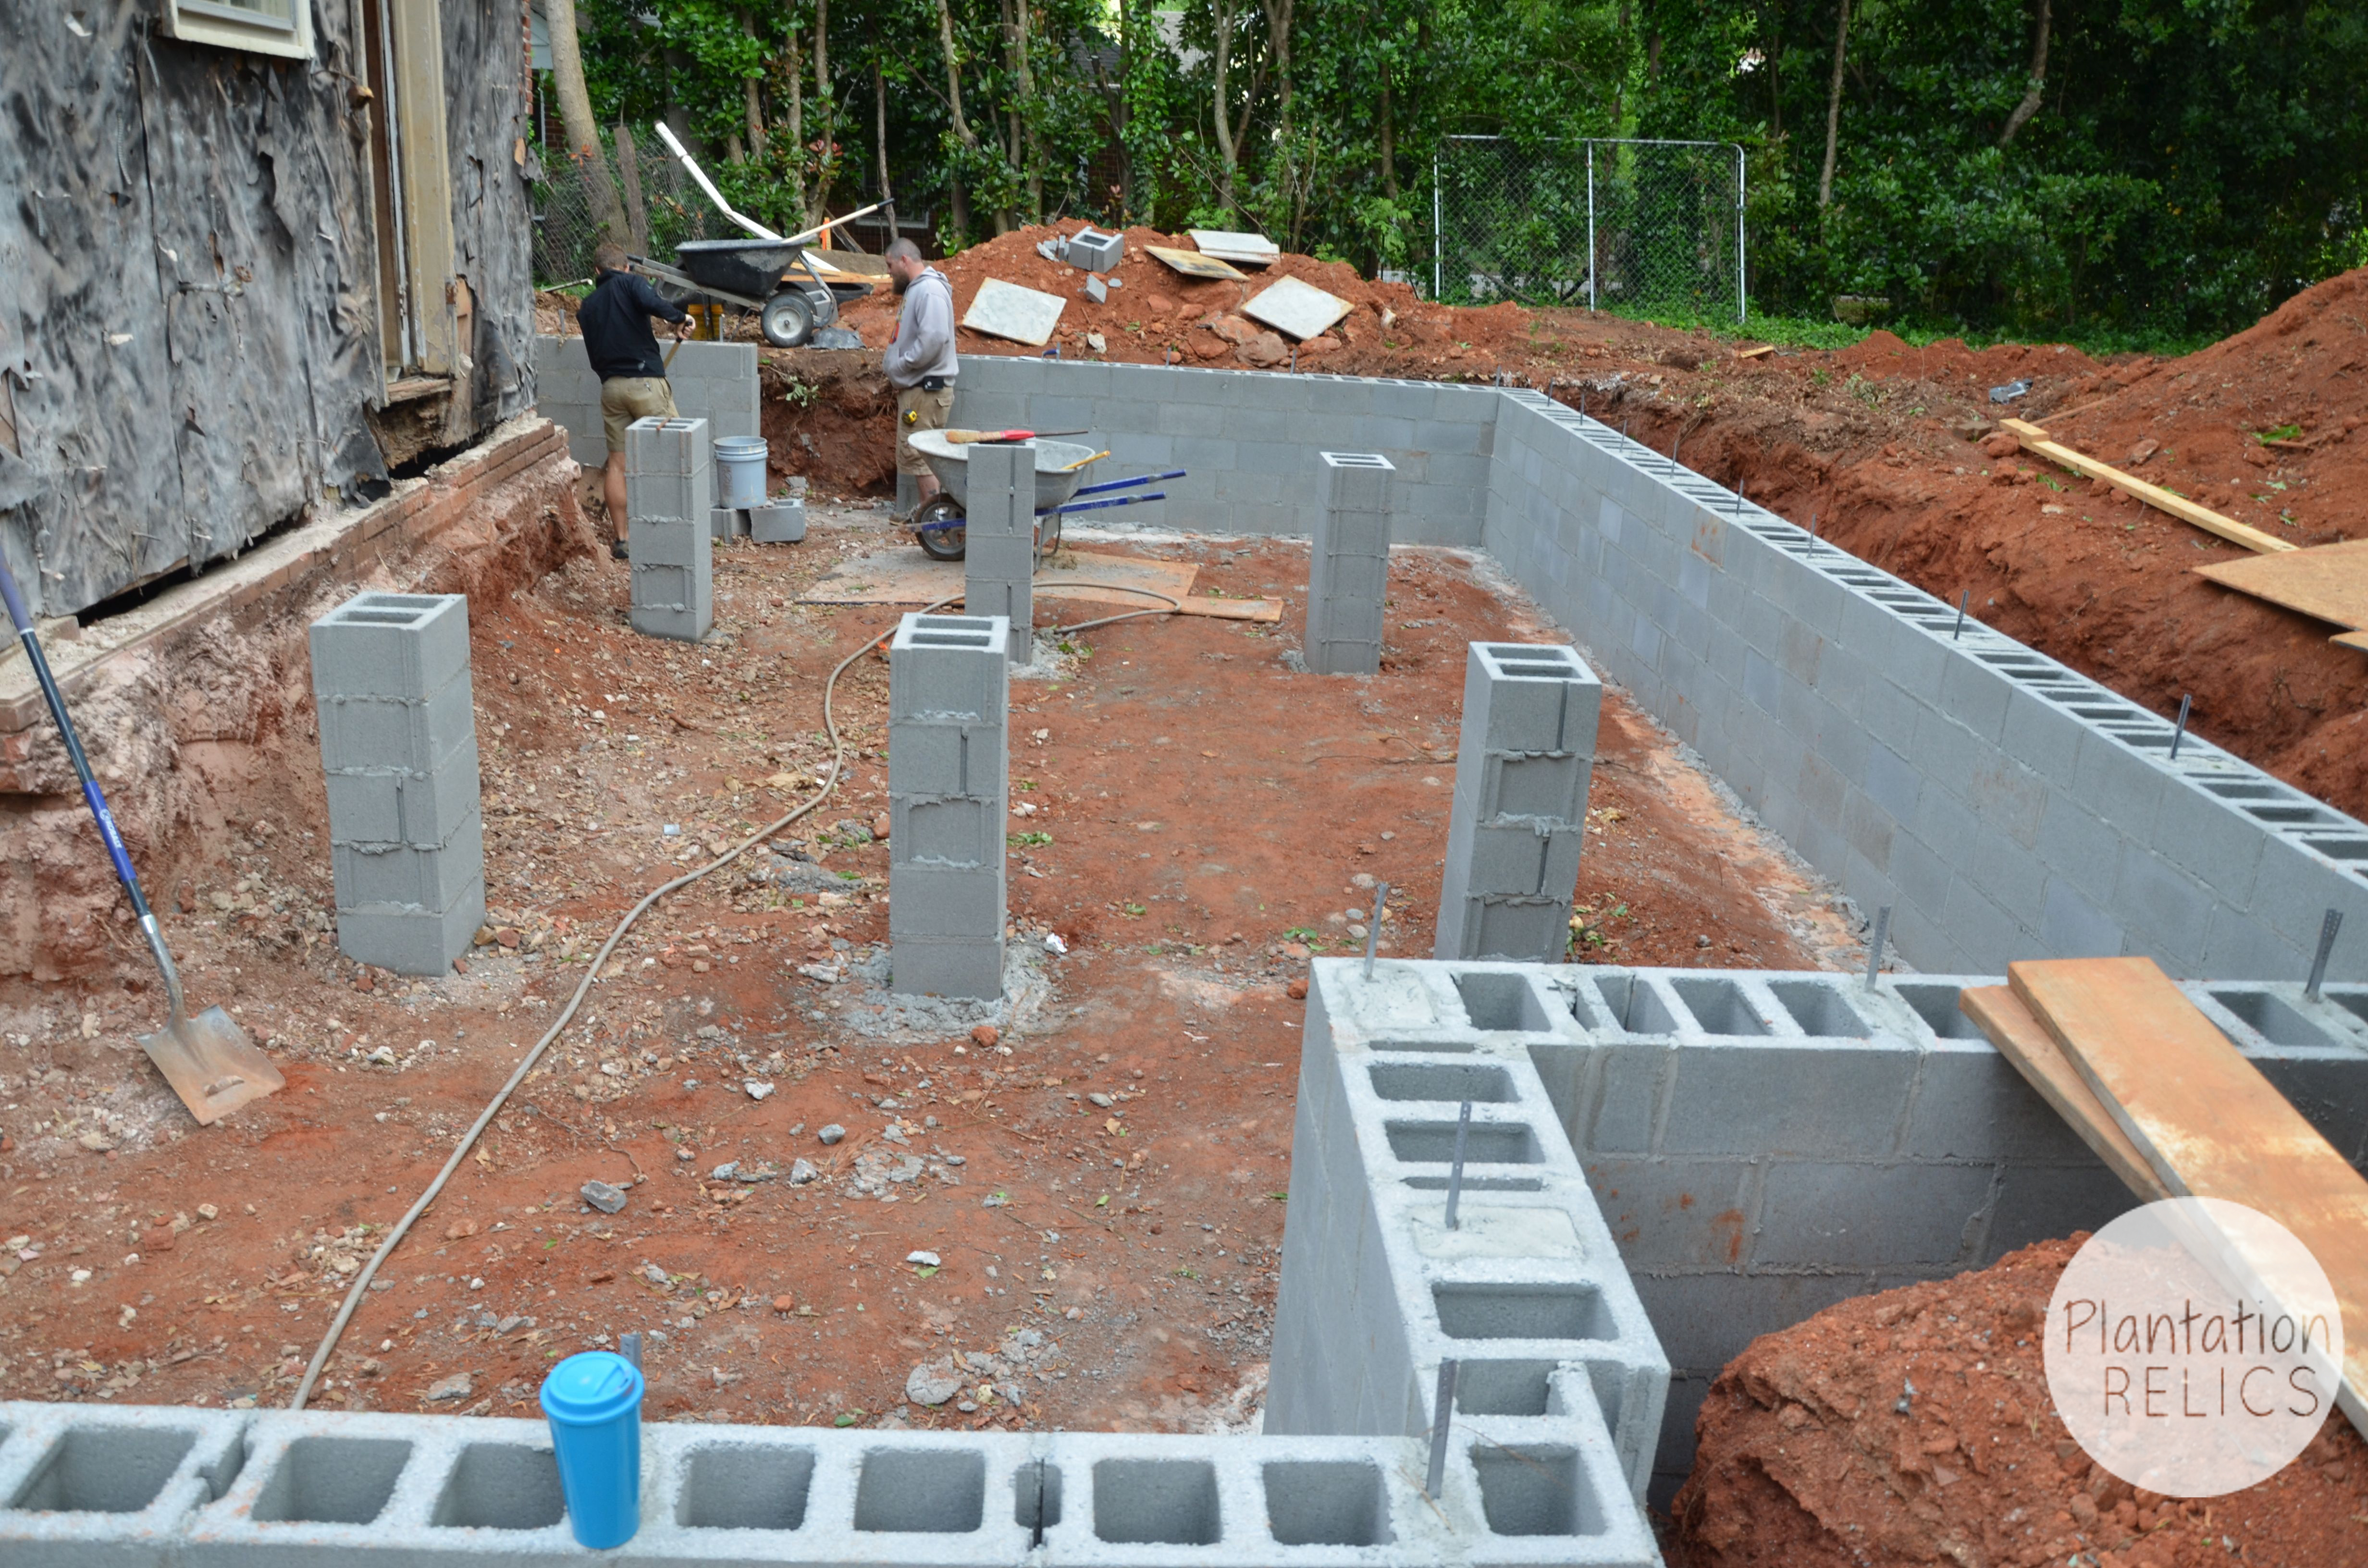
The weather finally moves out and we start the block for the floor and crawl space.
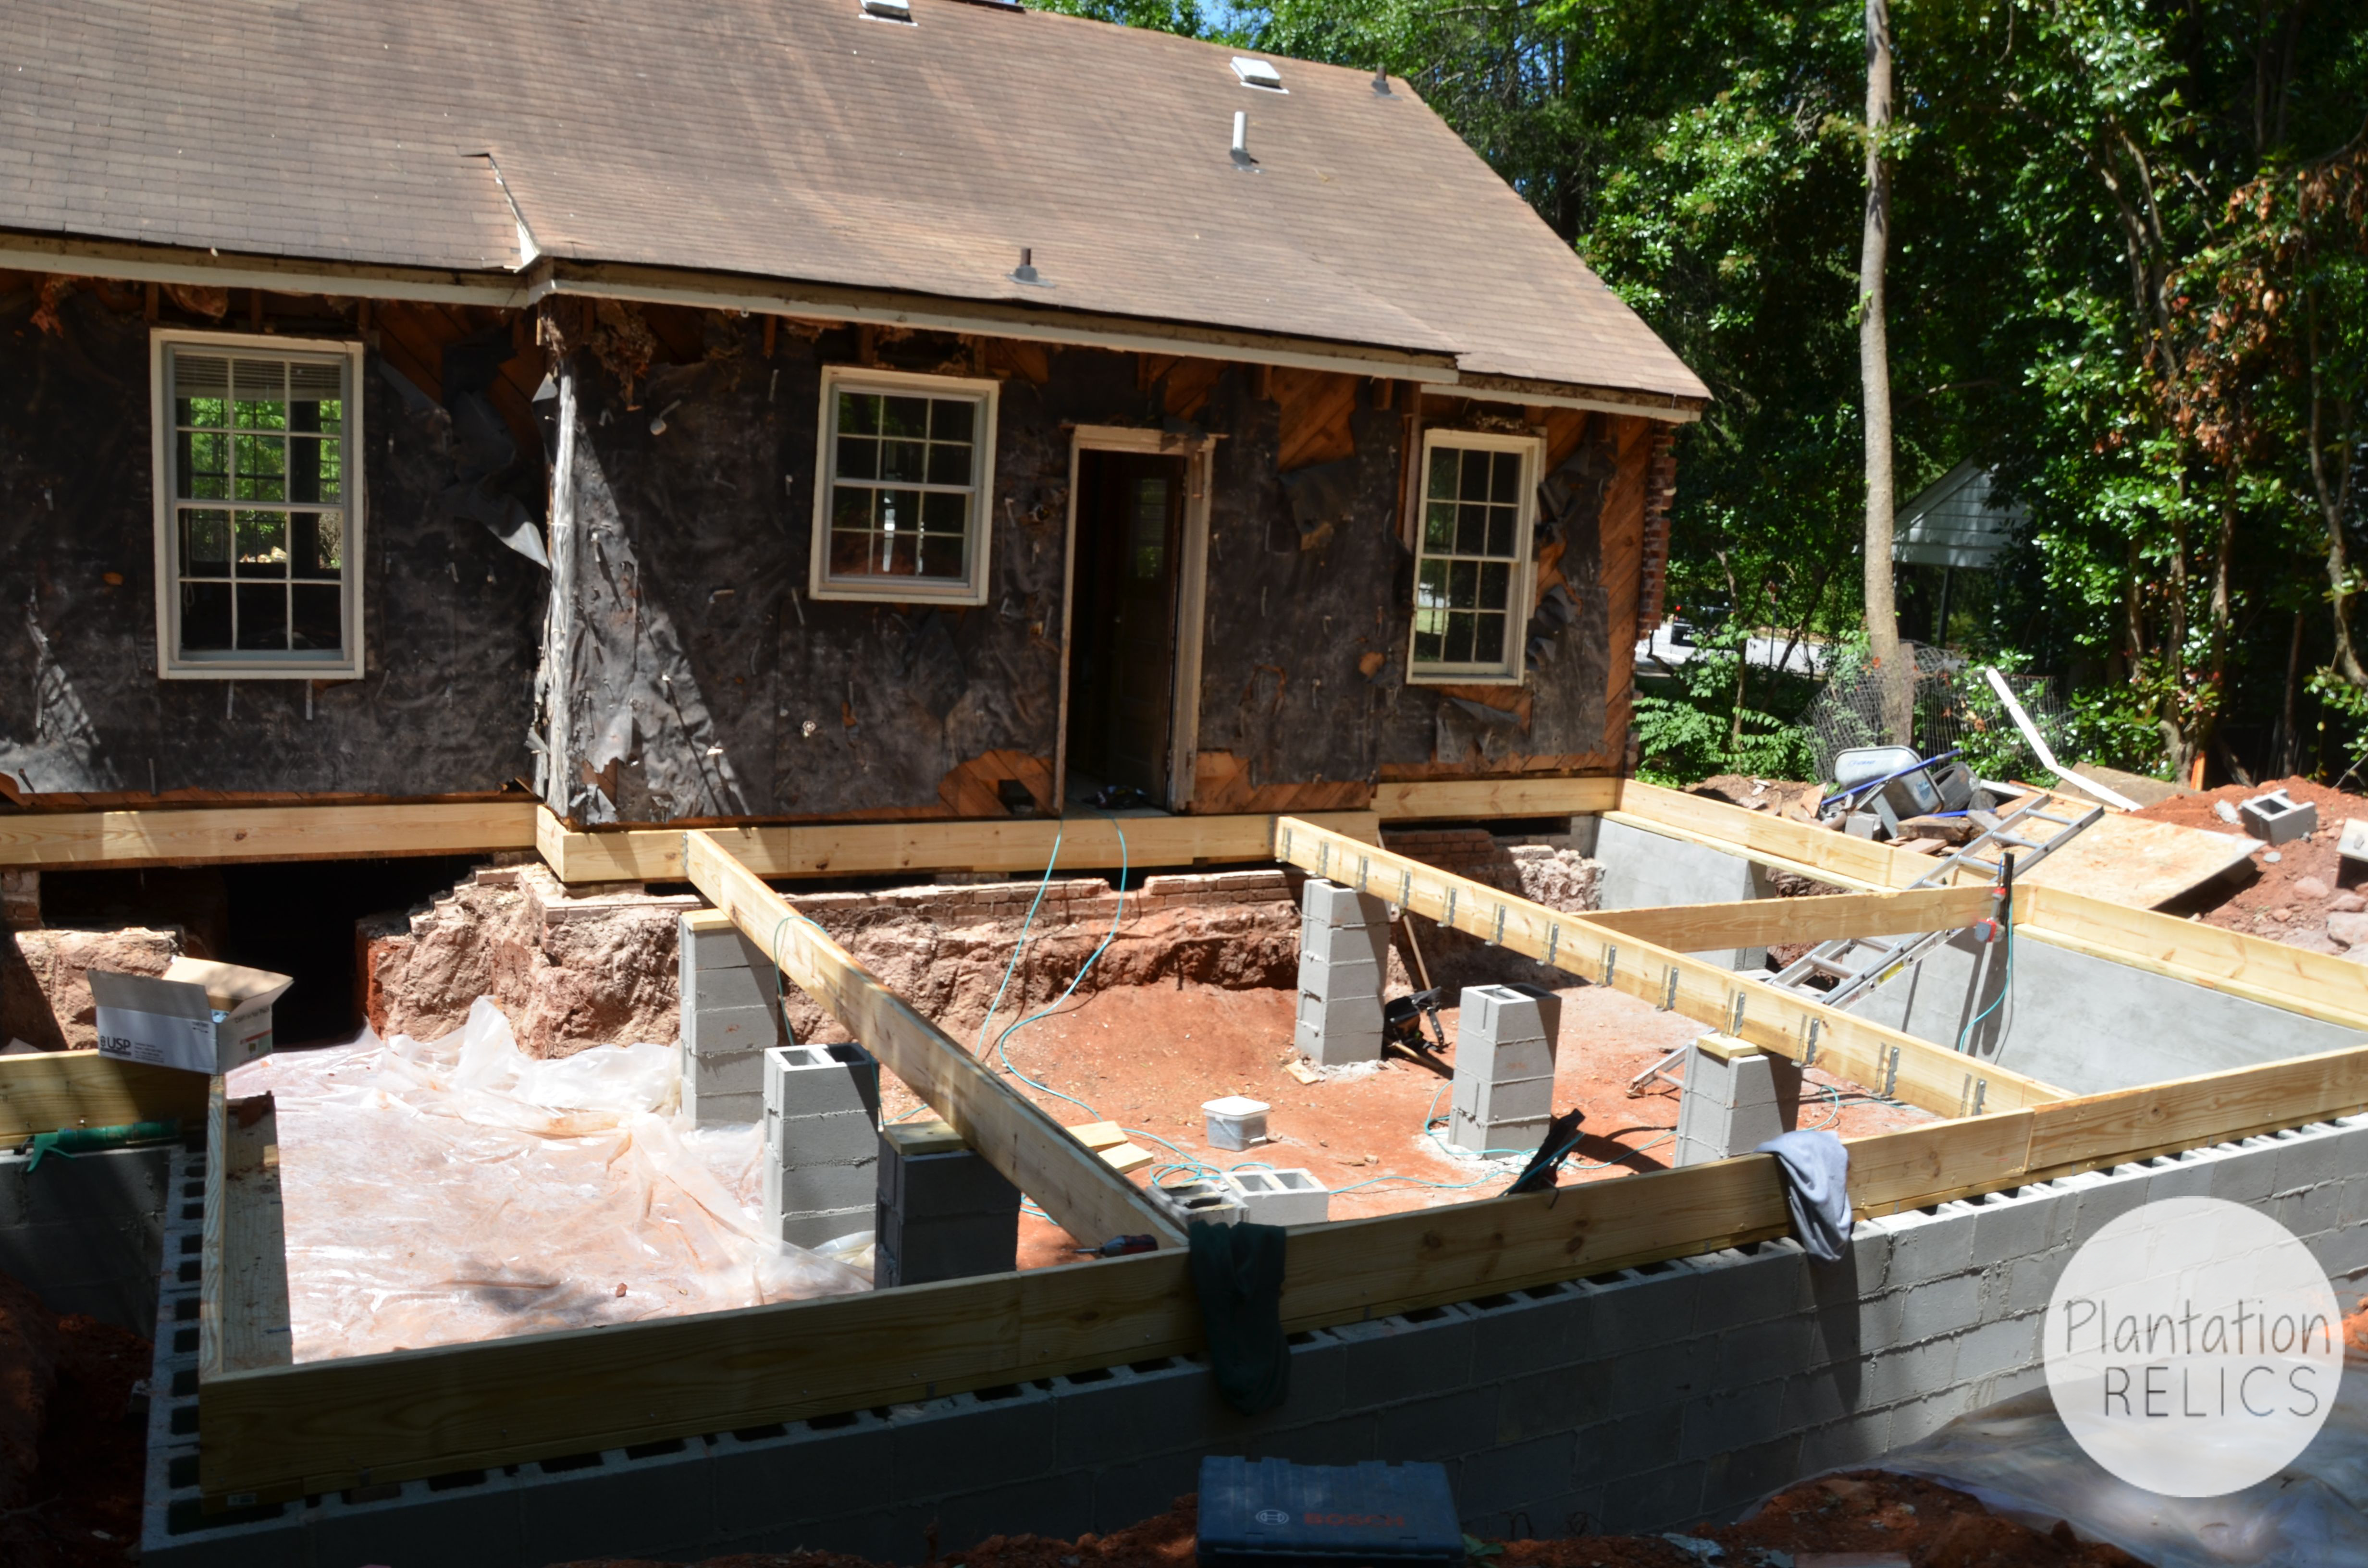
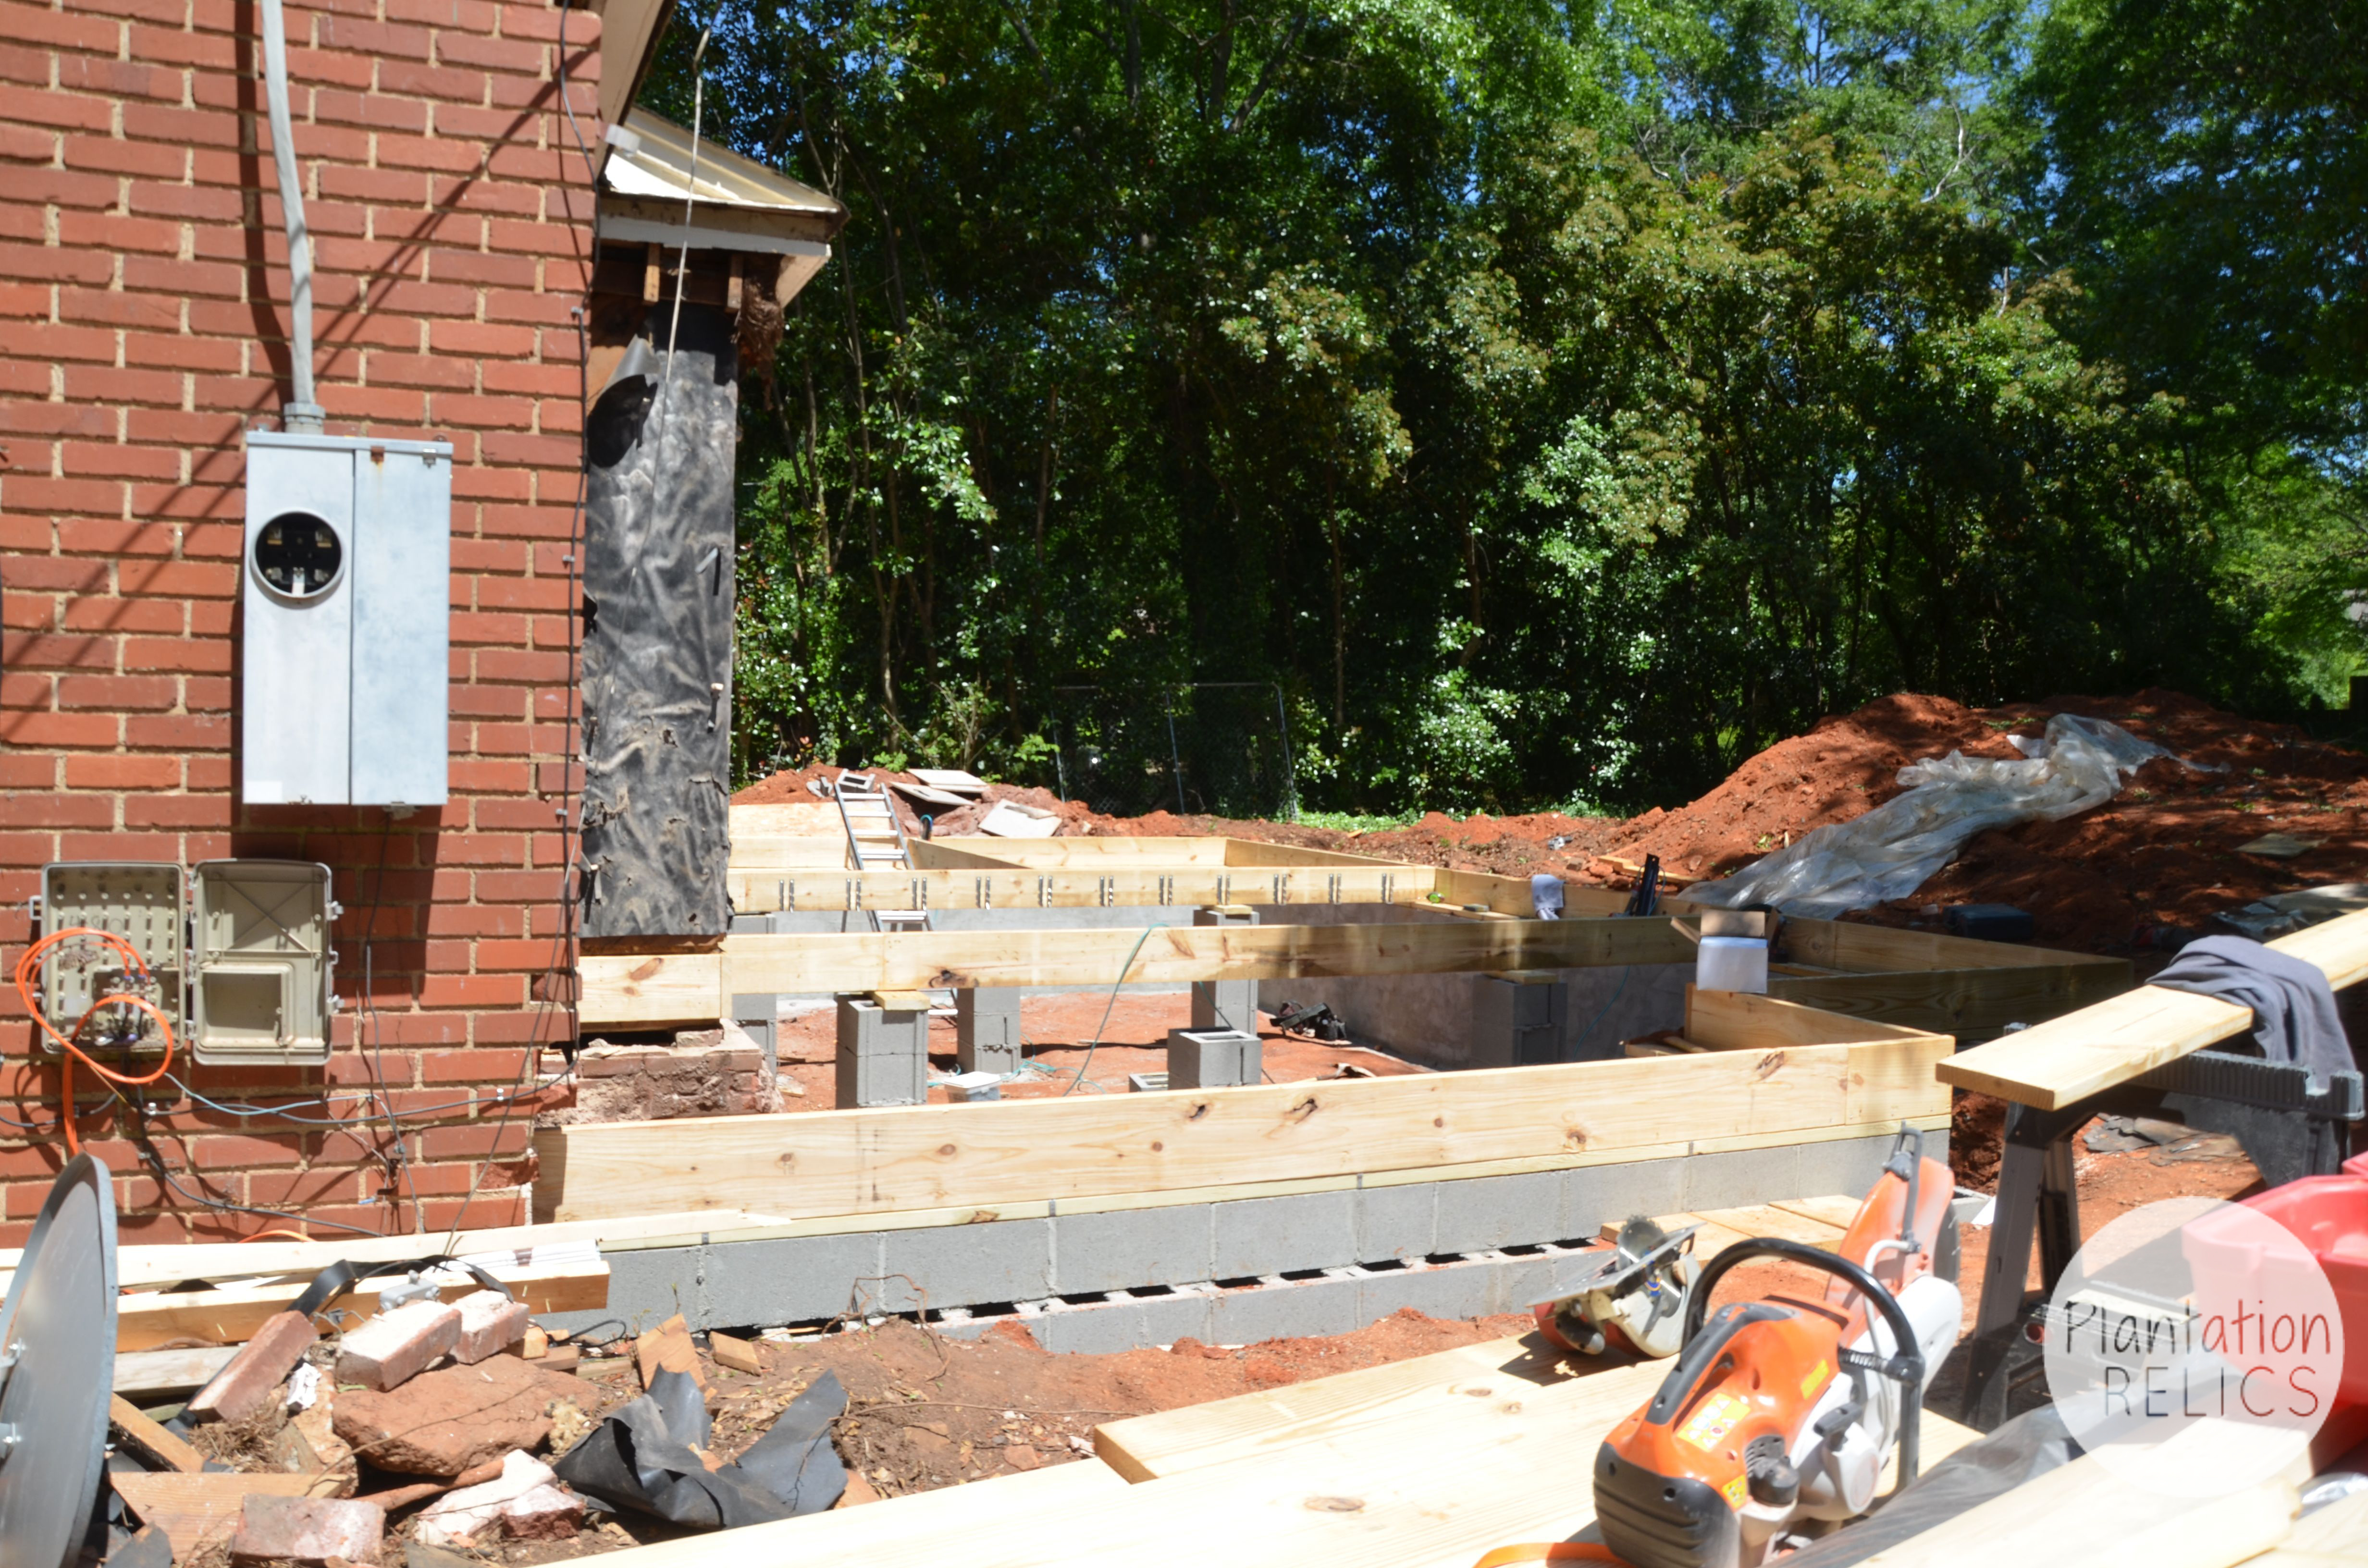
The main floor joists start and we are ready to roll. Notice that the rotted out back of the house was also repaired. We took out the entire back floor joists and replaced them. Thankfully we found this issue. If you missed the post with the major wood rot, see it here.

Now that we have the flooring in place and can start the subfloor and framing.
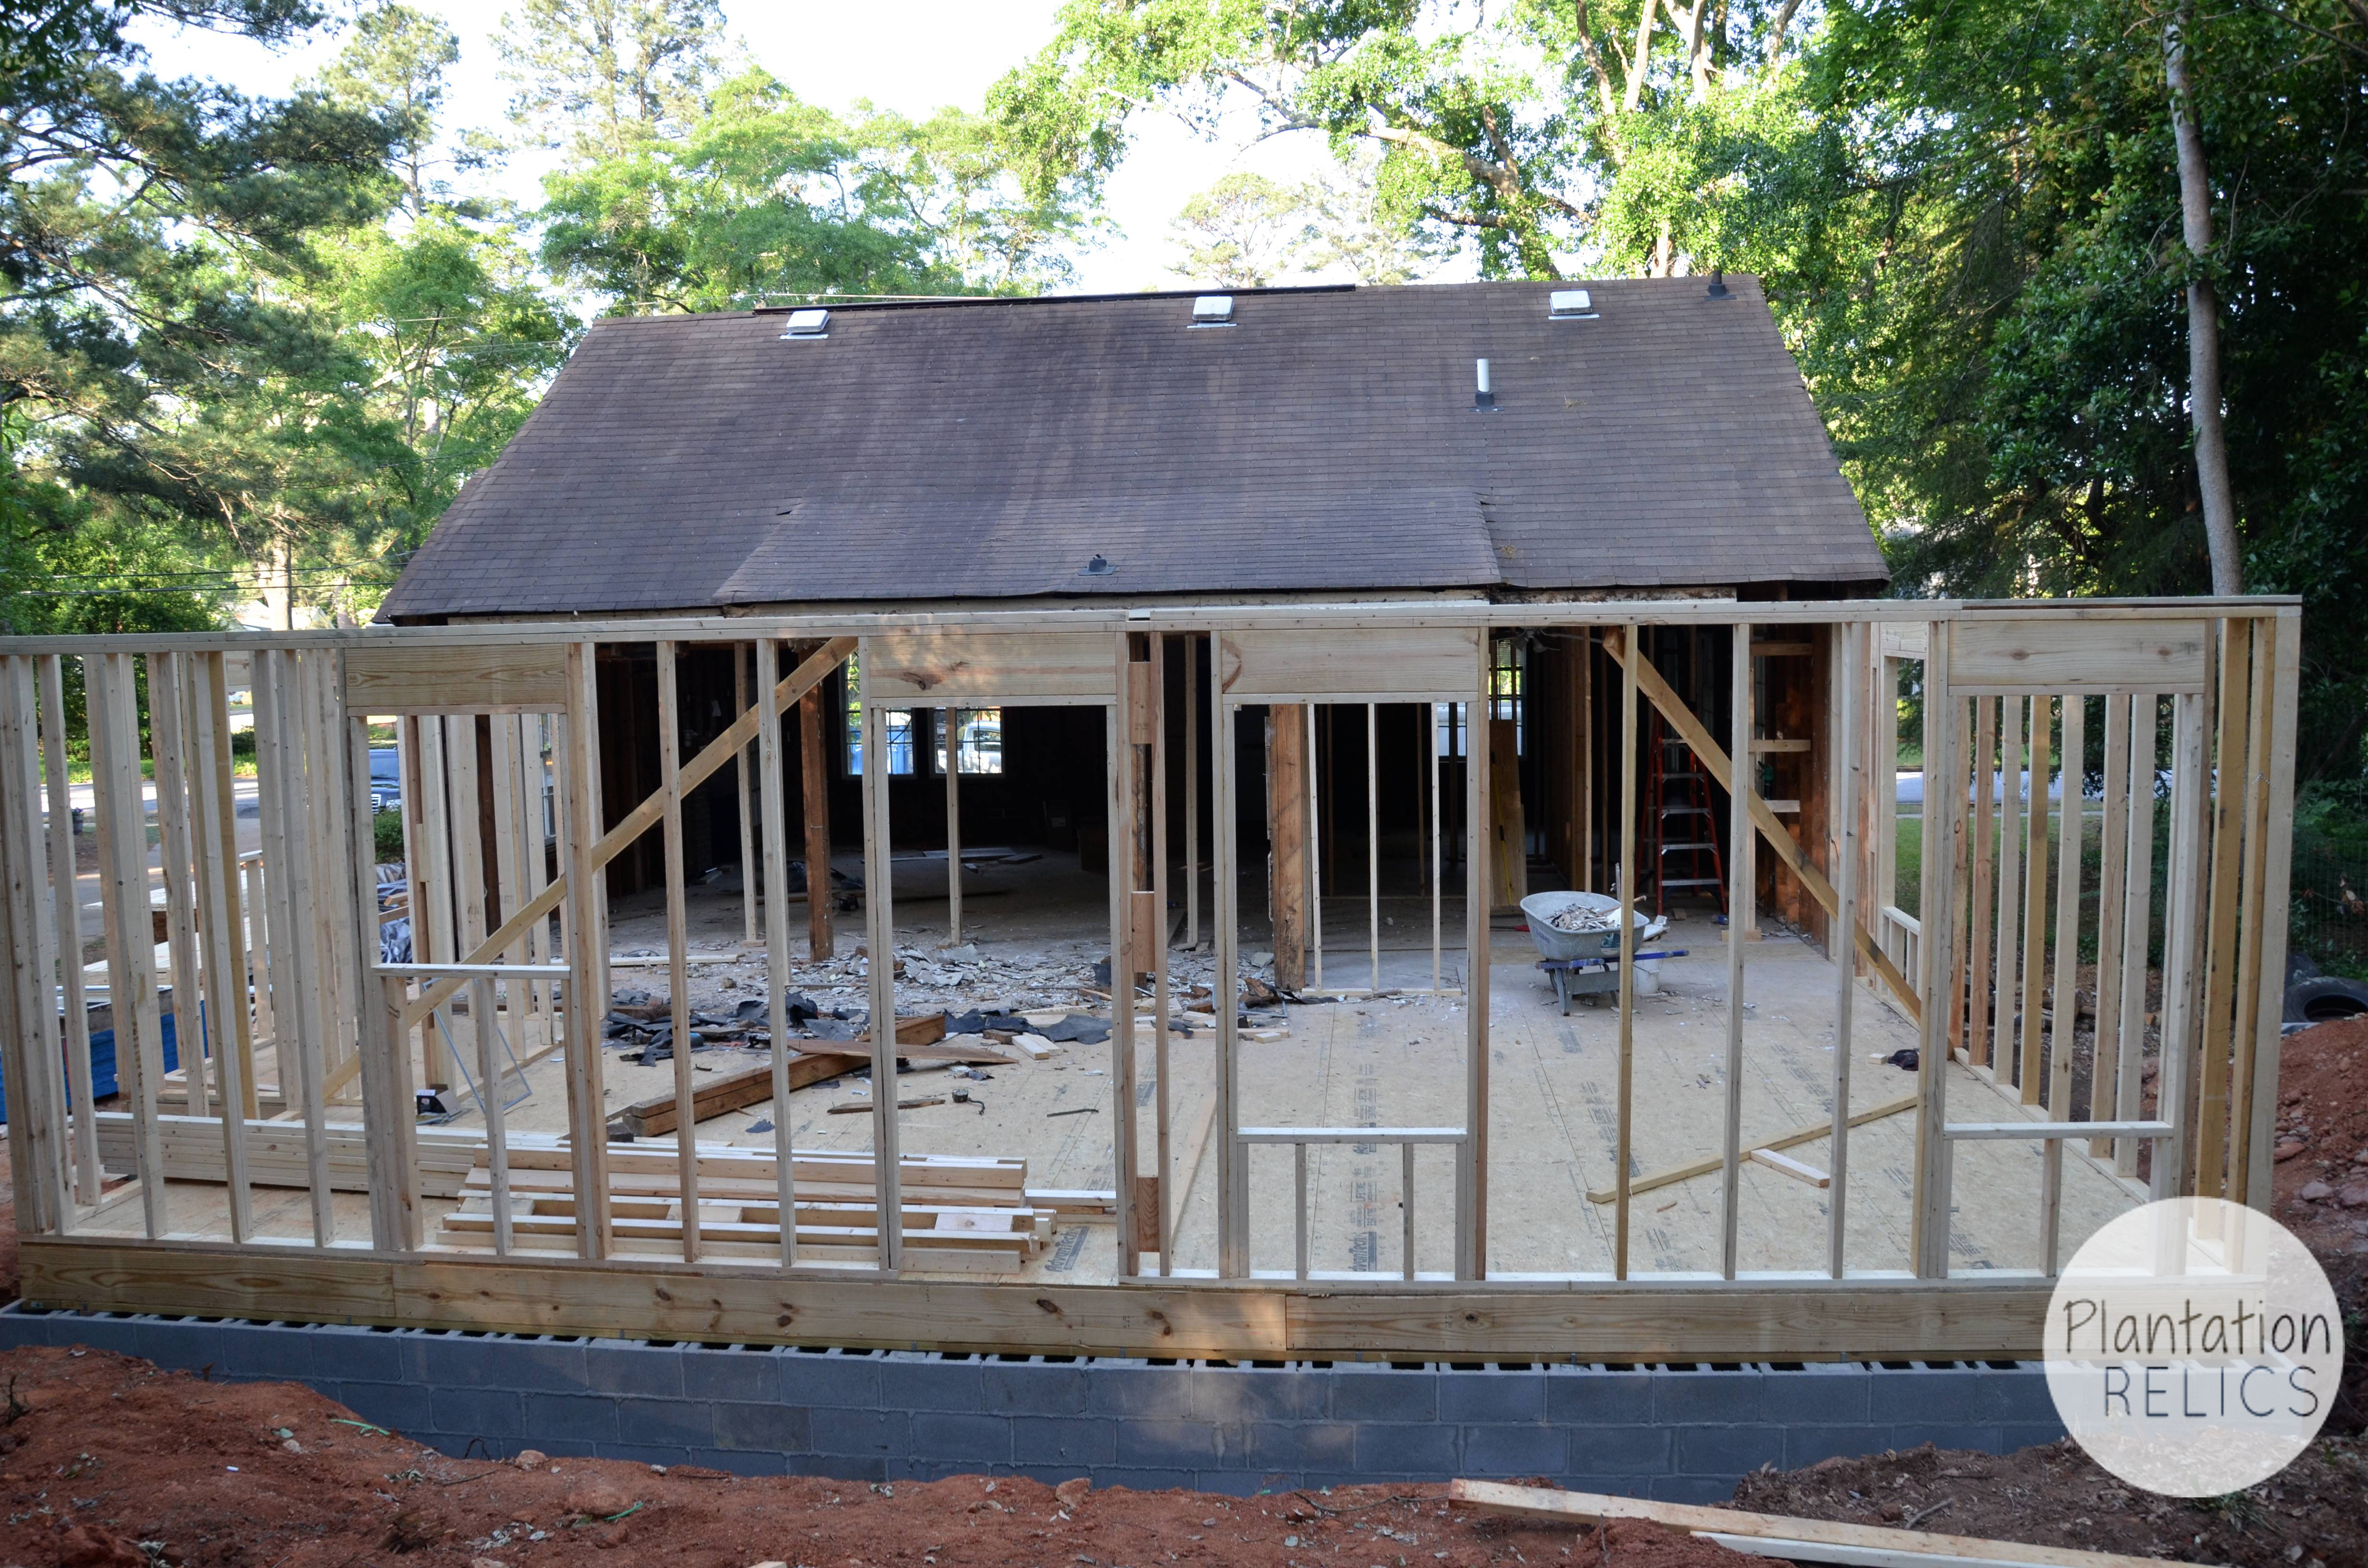
Up go the walls. The new kitchen and master bedroom will be in the addition.
Anyone notice that the entire old back wall of the house is now gone. Yep the whole thing is open. My hope is that critters don’t come to hang out while the house is open.
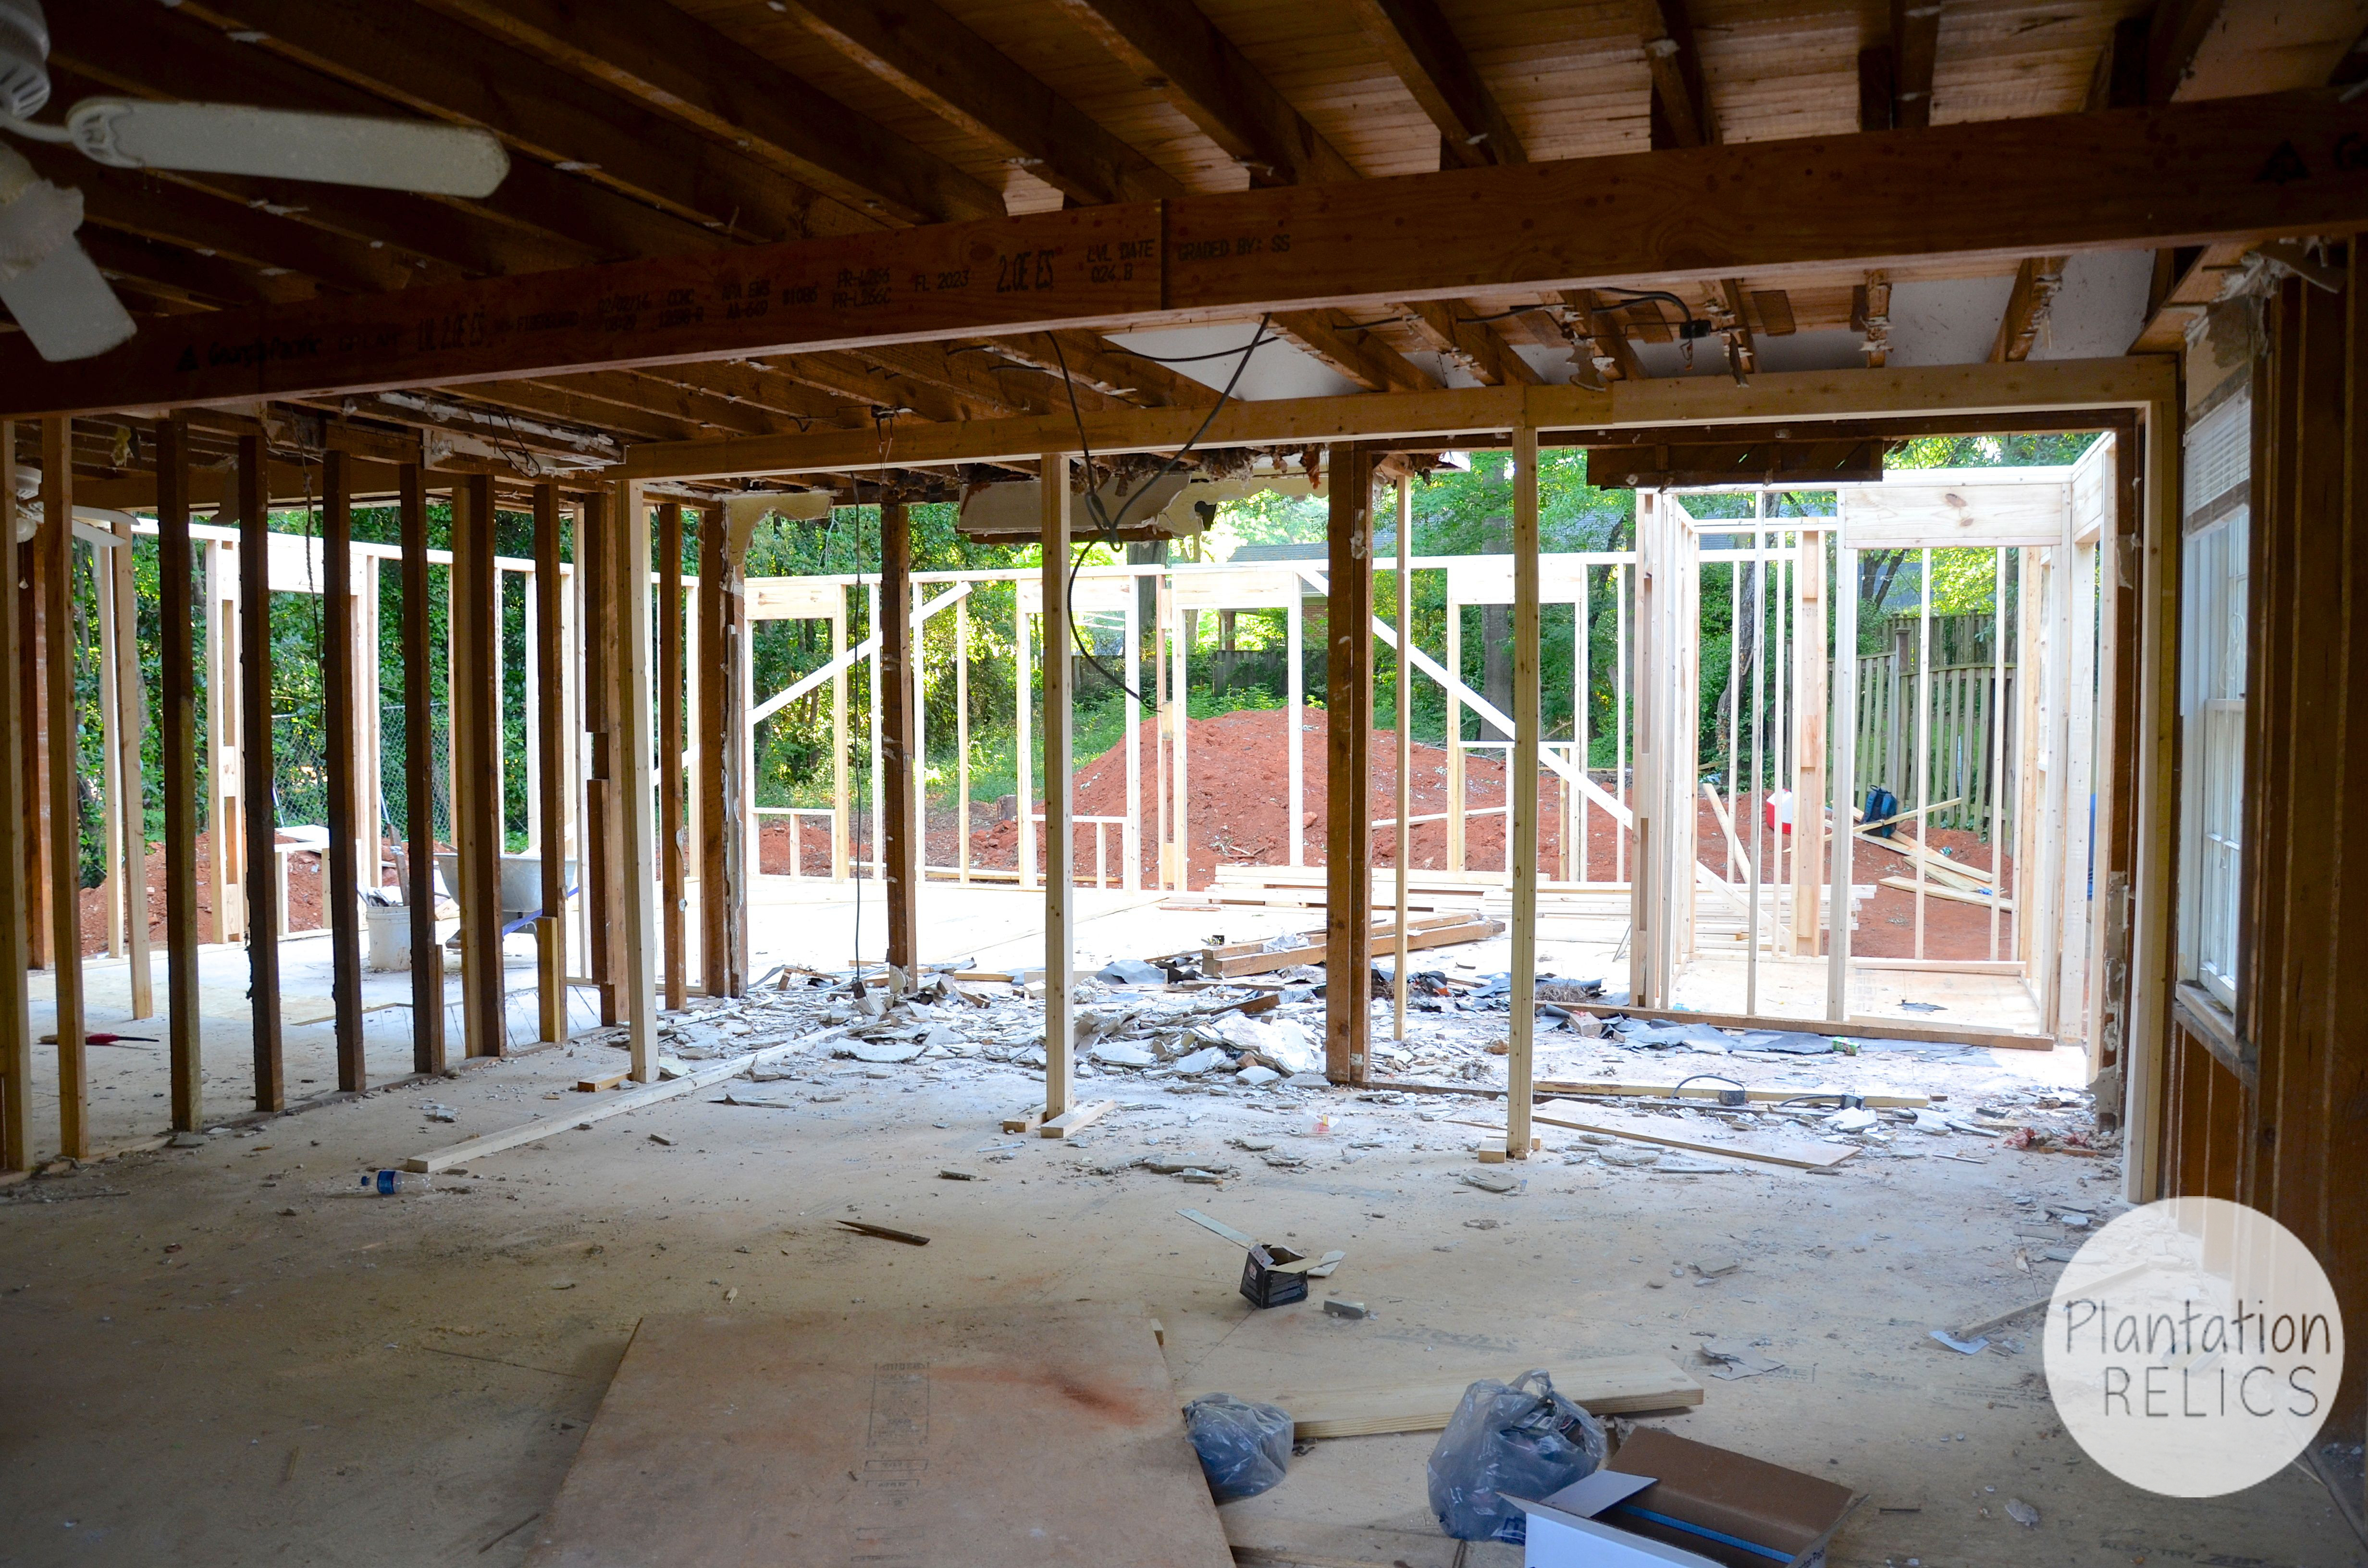
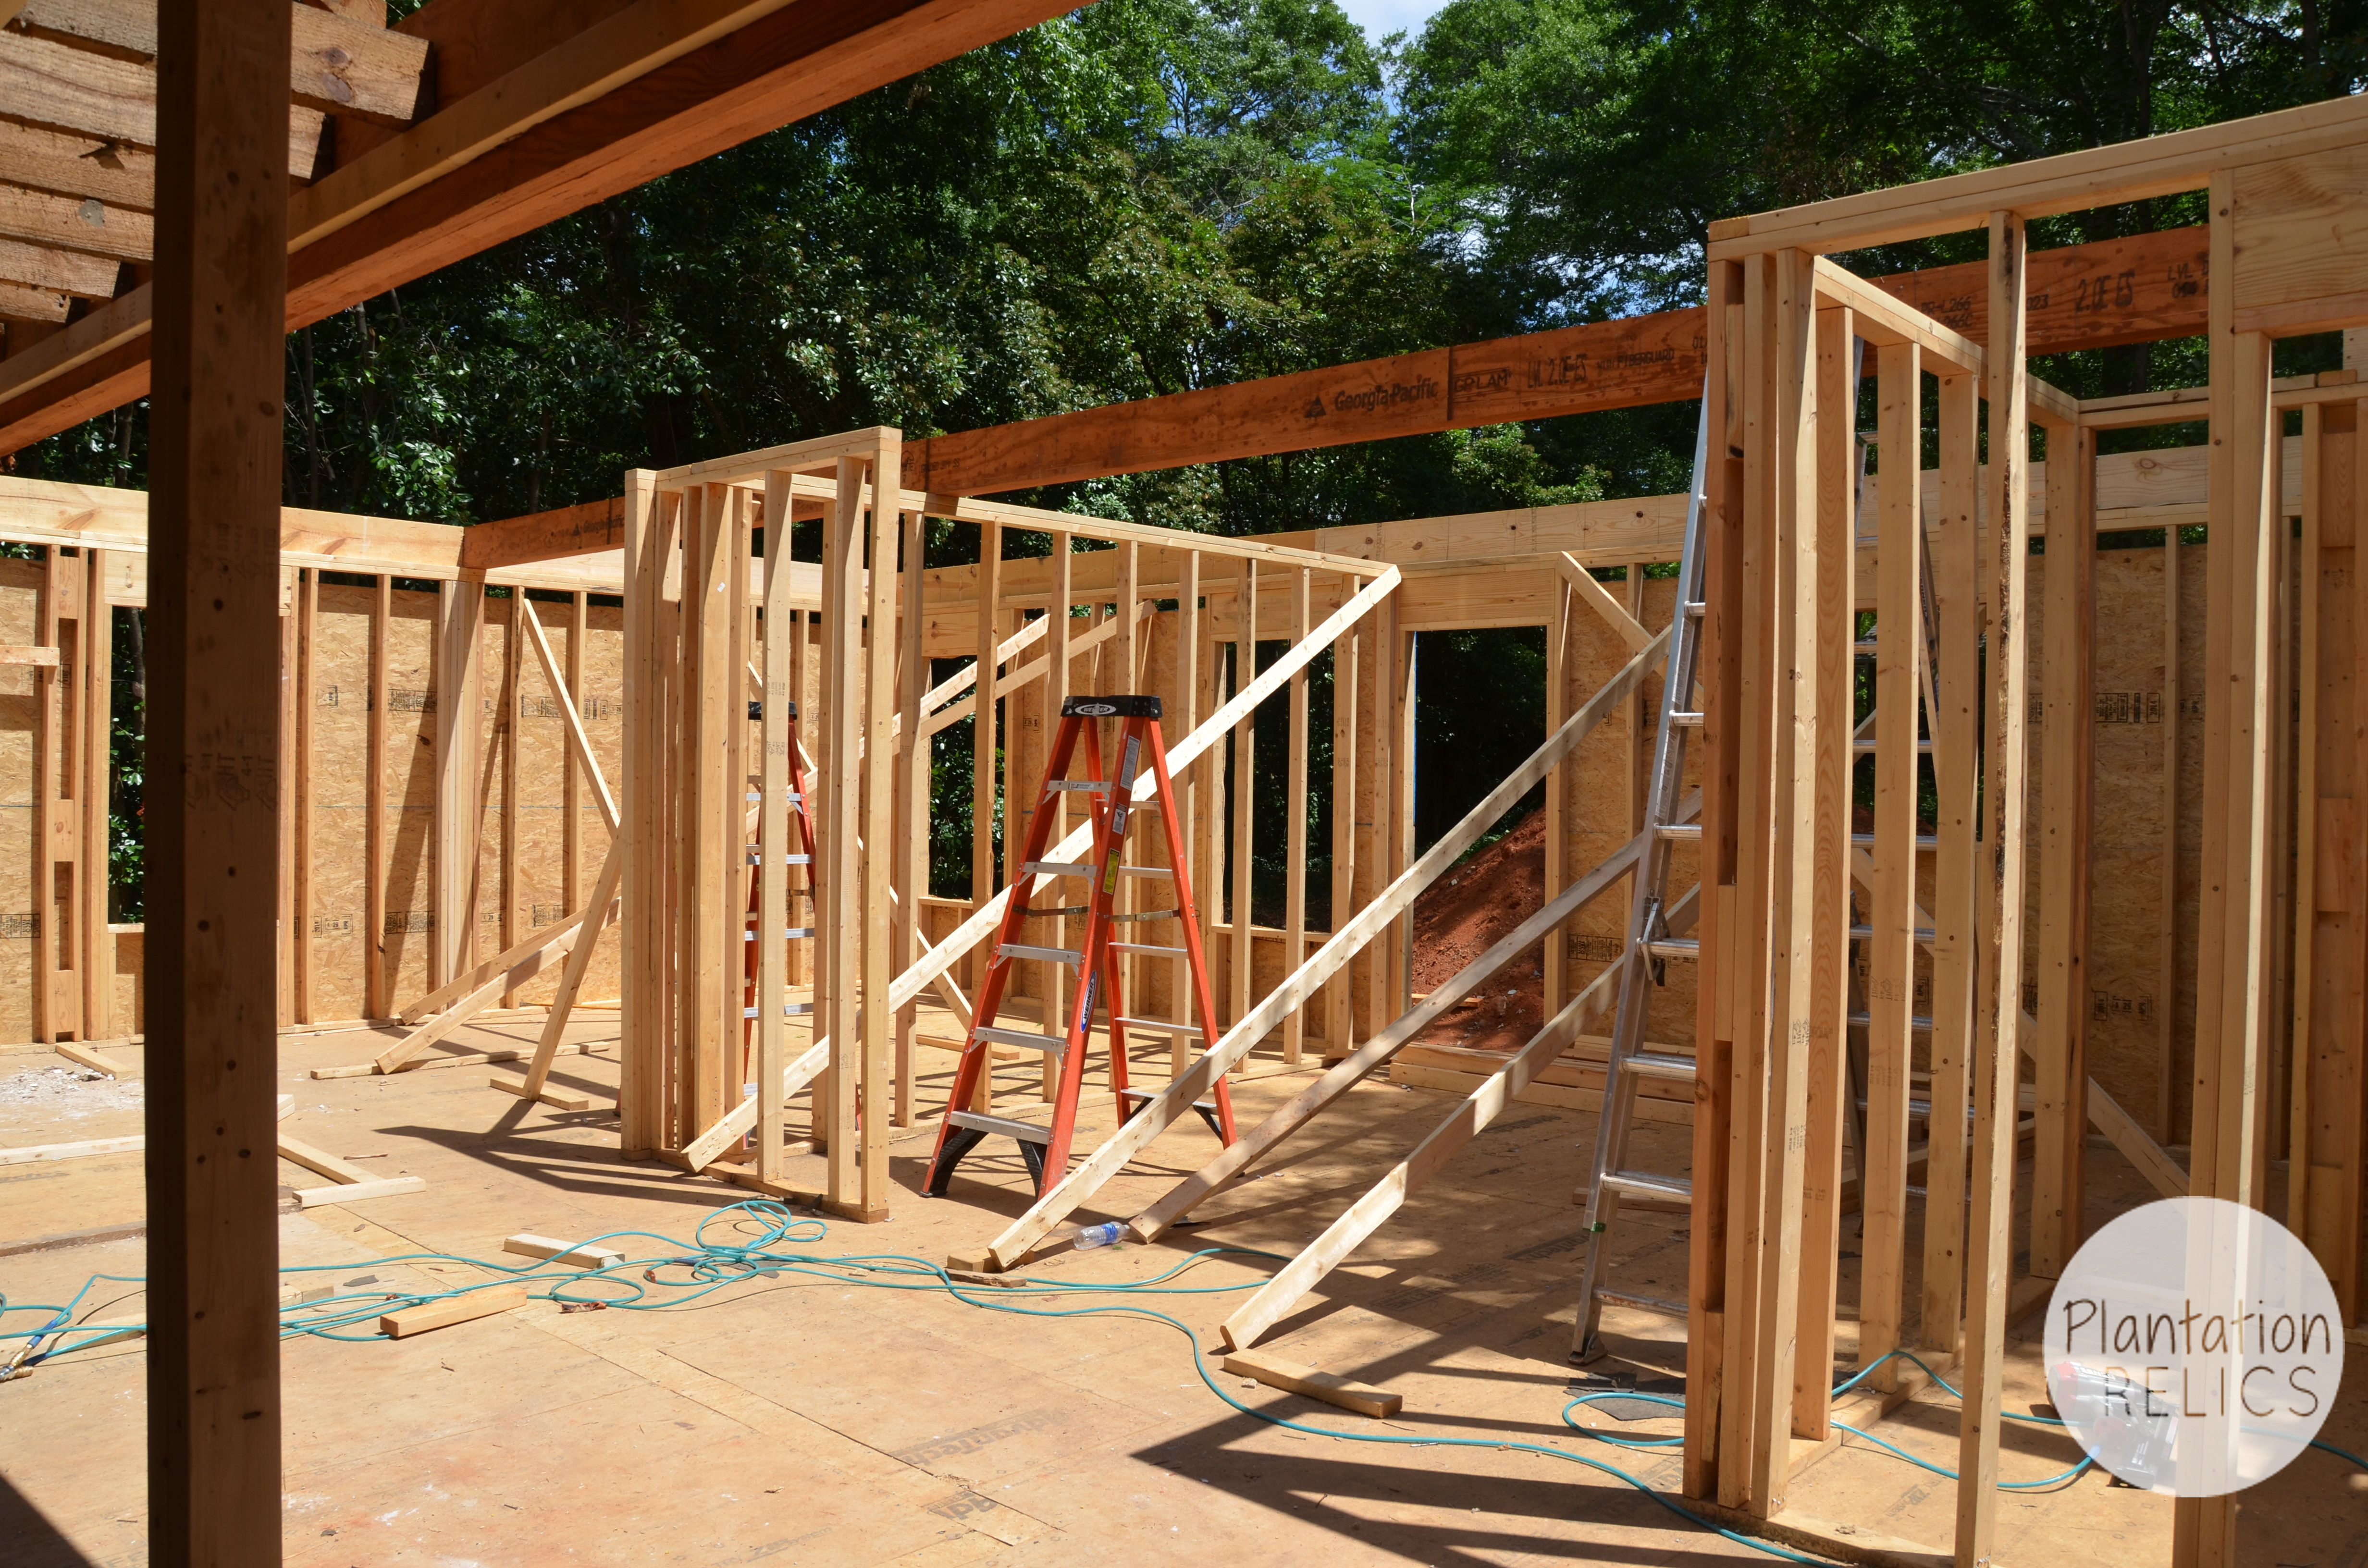
Here is the view from the old dining/kitchen area looking out to the addition. “Wide Open Spaces” pops in my head when I see this picture.
This is the old back of the house. We are adding the support beams that are needed to carry the load of the new upstairs.
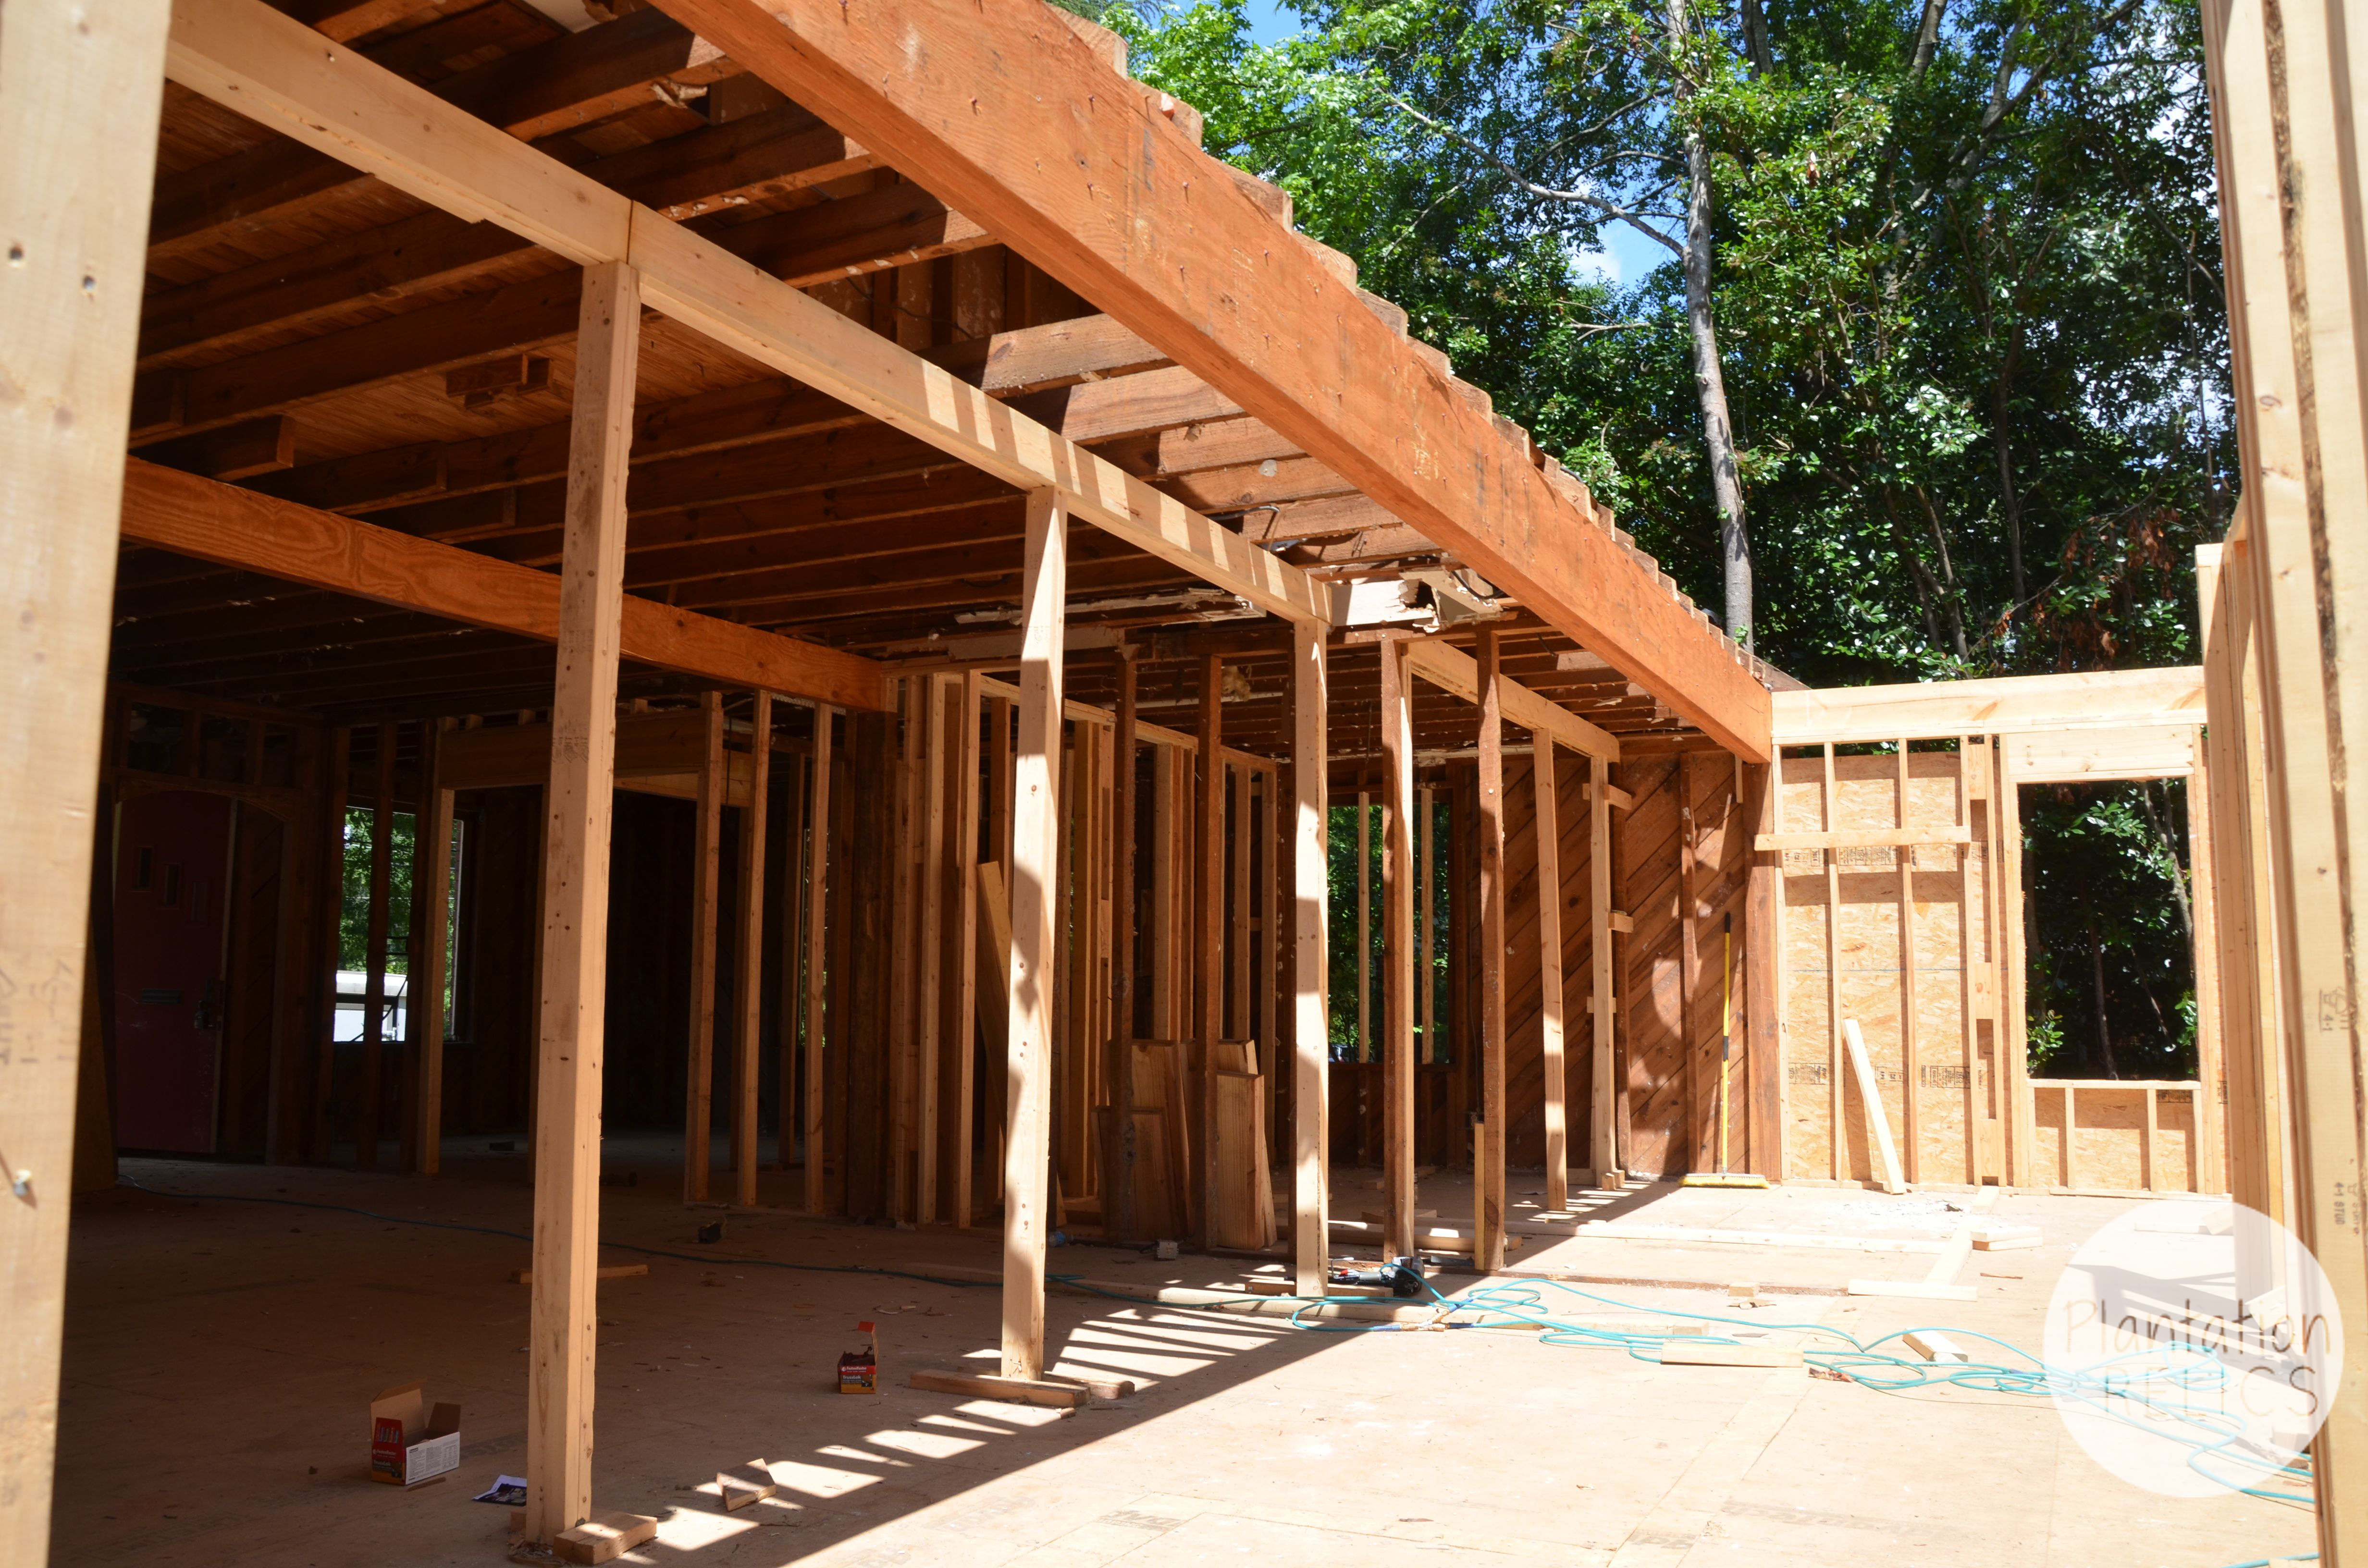
The new laundry is to the right, kitchen in the middle and master to the far left. This house is going to be awesome and have the space a family needs!
Stop back by the blog and see the second story going up and how we handled the height of a second story addition.

MAJOR project! Wow! I admire anyone who flips houses, especially when you do an addition. Can’t wait to see it finished!
Thank you! The addition is a major project but basically new construction which is usually easier because of the surprises you get with old houses. The addition is going great! Thanks for reading!
How exciting! Can’t wait to see the transformation! 🙂
Thank you! It is turning out awesome. Can’t wait to share more! Thanks for reading.
So much fun to watch your progress…..full steam ahead!!!
Thank you Connie! I appreciate you following my progress! It is a lot of fun!
Wow! What a project! Can’t wait to see what you do with it.
Thanks Erin! It has really been fun. Big yes but still a lot of fun!